|
QUICK TASK: URBANIZATION AND THE FUTURE OF CITIES.
Watch this video about how urban living came about in the world, and the way cities may develop in the future. Cut and paste this heading, and these questions, into your Weebly, and answer them: 1. In your opinion, what are the three most important facts or events that led to the urbanization of human dwelling, before the Industrial Age? 2. What are three ways future city living may develop? 3. What do you think is most interesting, or worthy of comment, about this future urban living? |
TASK 1 : OUR URBAN FUTURE
On your Weebly, give your opinion of the following :
- What big changes or problems do you think we will see in the next 50 years?
- What impact will these changes have on the way that we live?
- For each big change or problem, what role might urban design play in finding a solution?
TASK 2 : Develop a model of your existing site
Before you begin developing your design ideas into a 3D-type product in Minecraft or Sketch-Up, you will need to construct a draft model (2D) of your chosen site.
To do this you have two choices to create - a Basic model, or an Advanced model.
For the Basic Model:
1. Take a screen shot of a good, overhead google Earth shot of the area you are developing.
2. Print that shot out onto an A4 page
3. On the image, hand-draw the changes you will make, the new buildings you will add, the way you will develop the site.
(Note: use a ruler, and different colours or patterns to make your design clear. Include a key at the bottom if necessary.)
For the Advanced Model:
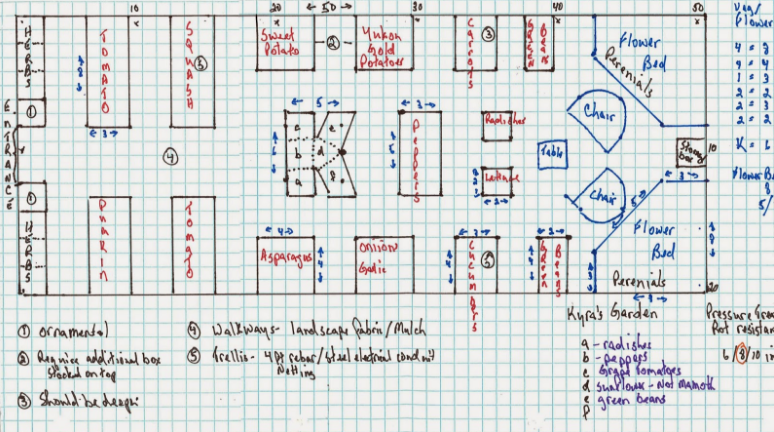
Create a 2D design of the urban area you are developing, using graph paper like the urban vege garden below.
(Note: it might help to get a good overhead google Earth image of your site, then draw 1cm graph lines over it, to help keep your drawing in shape and scale.)
After completing either (or both, if you like) of the models above:
Following this:
To do this you have two choices to create - a Basic model, or an Advanced model.
For the Basic Model:
1. Take a screen shot of a good, overhead google Earth shot of the area you are developing.
2. Print that shot out onto an A4 page
3. On the image, hand-draw the changes you will make, the new buildings you will add, the way you will develop the site.
(Note: use a ruler, and different colours or patterns to make your design clear. Include a key at the bottom if necessary.)
For the Advanced Model:
Create a 2D design of the urban area you are developing, using graph paper like the urban vege garden below.
(Note: it might help to get a good overhead google Earth image of your site, then draw 1cm graph lines over it, to help keep your drawing in shape and scale.)
After completing either (or both, if you like) of the models above:
- Take a photo of your design drawing and upload it to your weebly
Following this:
- Begin 3D modelling the existing site using Google SketchUp or Minecraft. (Note: do this model of the existing site, as it is, before making your design changes and developments.)
- Take a classmate on a virtual tour of your site, showing them your 2D designs and the 3D model of the existing site. Explain your plans, and get your classmate's written feedback on your Weebly.
Here's a sample space, designed in 2D, using graph paper. It's an urban vegetable garden.
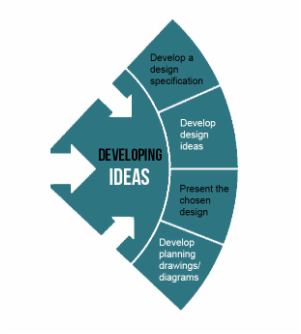
TASK 3 : Develop a design specification
Using your design specifications handout in google docs, complete your design specifications and upload them to your weebly.
TASK 4 : Develop design ideas (Anna's class only)

|
You will be given 3 different colours of post-it notes. For each of your chosen USER SPECIFICATIONS in your brief, you will have 10 minutes to come up with as many ideas that address each spec. For each idea, write or draw on your post it note.
When you have finished, share your ideas with a classmate and have them select which 3 have the strongest ideas. Take a photograph of your ideas and upload them to your weebly. |
TASK 5 : Develop planning drawings/diagrams
Add to the new details of your design to your map on graph paper. You will need to create diagrams of any structures that you want to include, and clearly label all components on your map.
Upload your planning drawings to your website and discuss :
Make sure your visual representations - drawings, google earth shots - clearly outline your planned design site, including buildings, spaces, and with all of it labelled. This should be uploaded to your Weebly when finished.
Upload your planning drawings to your website and discuss :
- How does your design fulfill your brief?
- How does your design fulfill your design specifications?
Make sure your visual representations - drawings, google earth shots - clearly outline your planned design site, including buildings, spaces, and with all of it labelled. This should be uploaded to your Weebly when finished.
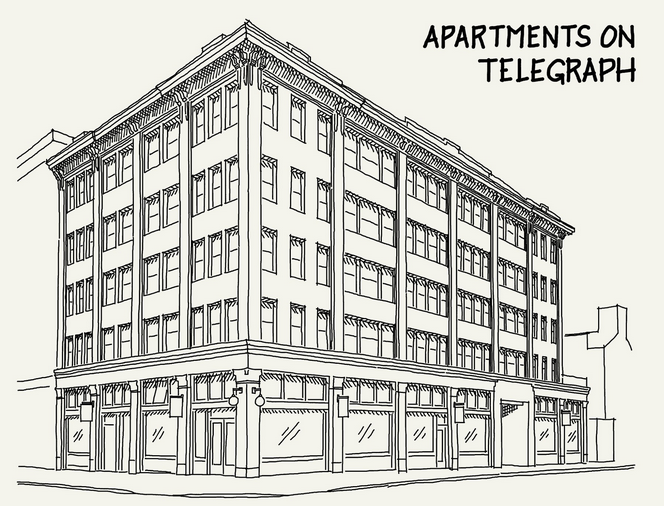
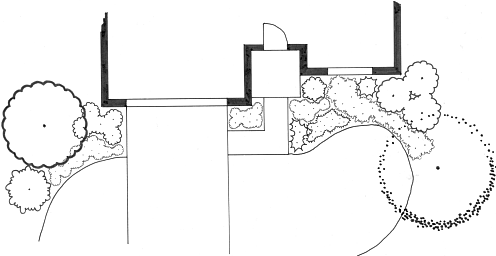
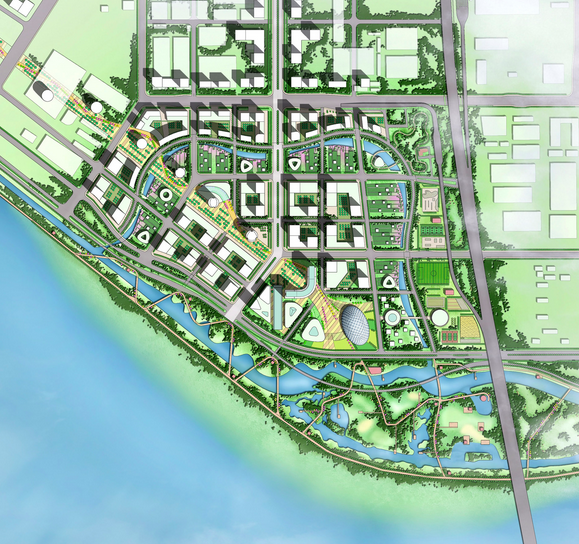
Some examples of planning drawings :
|
|
|
An interesting video...
TASK 6 : Present and refine your chosen design
Create
To do this you will need to :
If you didn't get to this task, leave it for now.
To do this you will need to :
- Create a large-scale mock-up of your design
- Justify why this is the best possible solution
- Identify your use of typography and image, and describe how the two create unity in your solution
- Scan or photograph your final design and upload onto your website for feedback
If you didn't get to this task, leave it for now.
